You may upload alternate versions of case images. For example, if you have two copies of an image, one with hand drawn annotations and one without, you may add the annotated version as an alternate to the first. For each annotated image that you upload, users who view your case will see a link called “show annotations” and be able to toggle back and forth between the two versions of the image, Before uploading annotated files to a case, you need to have those files accessible on your hard drive and ready to upload. This may involve using an editing tool to mark up the image with annotations. Images can be in any common format, such as JPEG, GIF, PNG, PSD, TIFF, Bitmap, or DICOM. Please see Preparing to Create a Case for more information.
To begin, launch the Case Editor, click on the “File Upload” tab, then scroll down to the “Alternate Images” section at the bottom of the form.
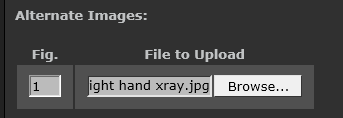
For each alternate image that you plan to upload, enter the figure number of the corresponding original image, then click the Browse button to specify the file location:
When ready, press “UPLOAD”. Only click UPLOAD once. It may take several minutes for the images to upload, depending on the size of the images and the speed of your network connection.
See the section Managing Case Images for instructions on how to add captions, reorder the images, and control when they are displayed.